It's no secret that I like to scrimp out on some things in life so I can have more savings for future splurges, i.e. more important matters. Pampering can be one of those things that I tend to do a lot on my own, especially when I have time. Don't get me wrong, though. I like treating myself to a little RnR every now and then but more often that not, I find the prices of nail salons a tad too steep for my liking. My solution? I do it myself.
Foot spas are one of those things that can take some getting used to doing on your own. I, for one, had just started trying it out and I'm no expert at it... YET! I'll get the hang of it, and I'm sure you will too.
So what is it that you want to achieve at the end of every foot spa sesh? Soft, callus-less footsies that you can show to the entire world! With the help of a few tools, you can give your feet a much-needed break and treat it to a little lap of luxury every once in a while... and you don't have to spend a fortune to do it! Some of these materials may already be lying around in your home. Others may need to be purchased at your local wellness store like Watsons. But investing in them will save you a lot of bucks in the future. Imagine spending Php 300 and even more on just one foot spa appointment in that plush nail salon in the mall. You can invest the same amount of money (or less) and use these items for many more at-home foot spa sessions in the future. You can do it with your friends and family too!
You're going to need:

1. Foot Soak
We got this at Watsons waaay back. They usually come in buy 1 take 1 packs.
Not sure about the price, but it prolly won't cost over Php 150.
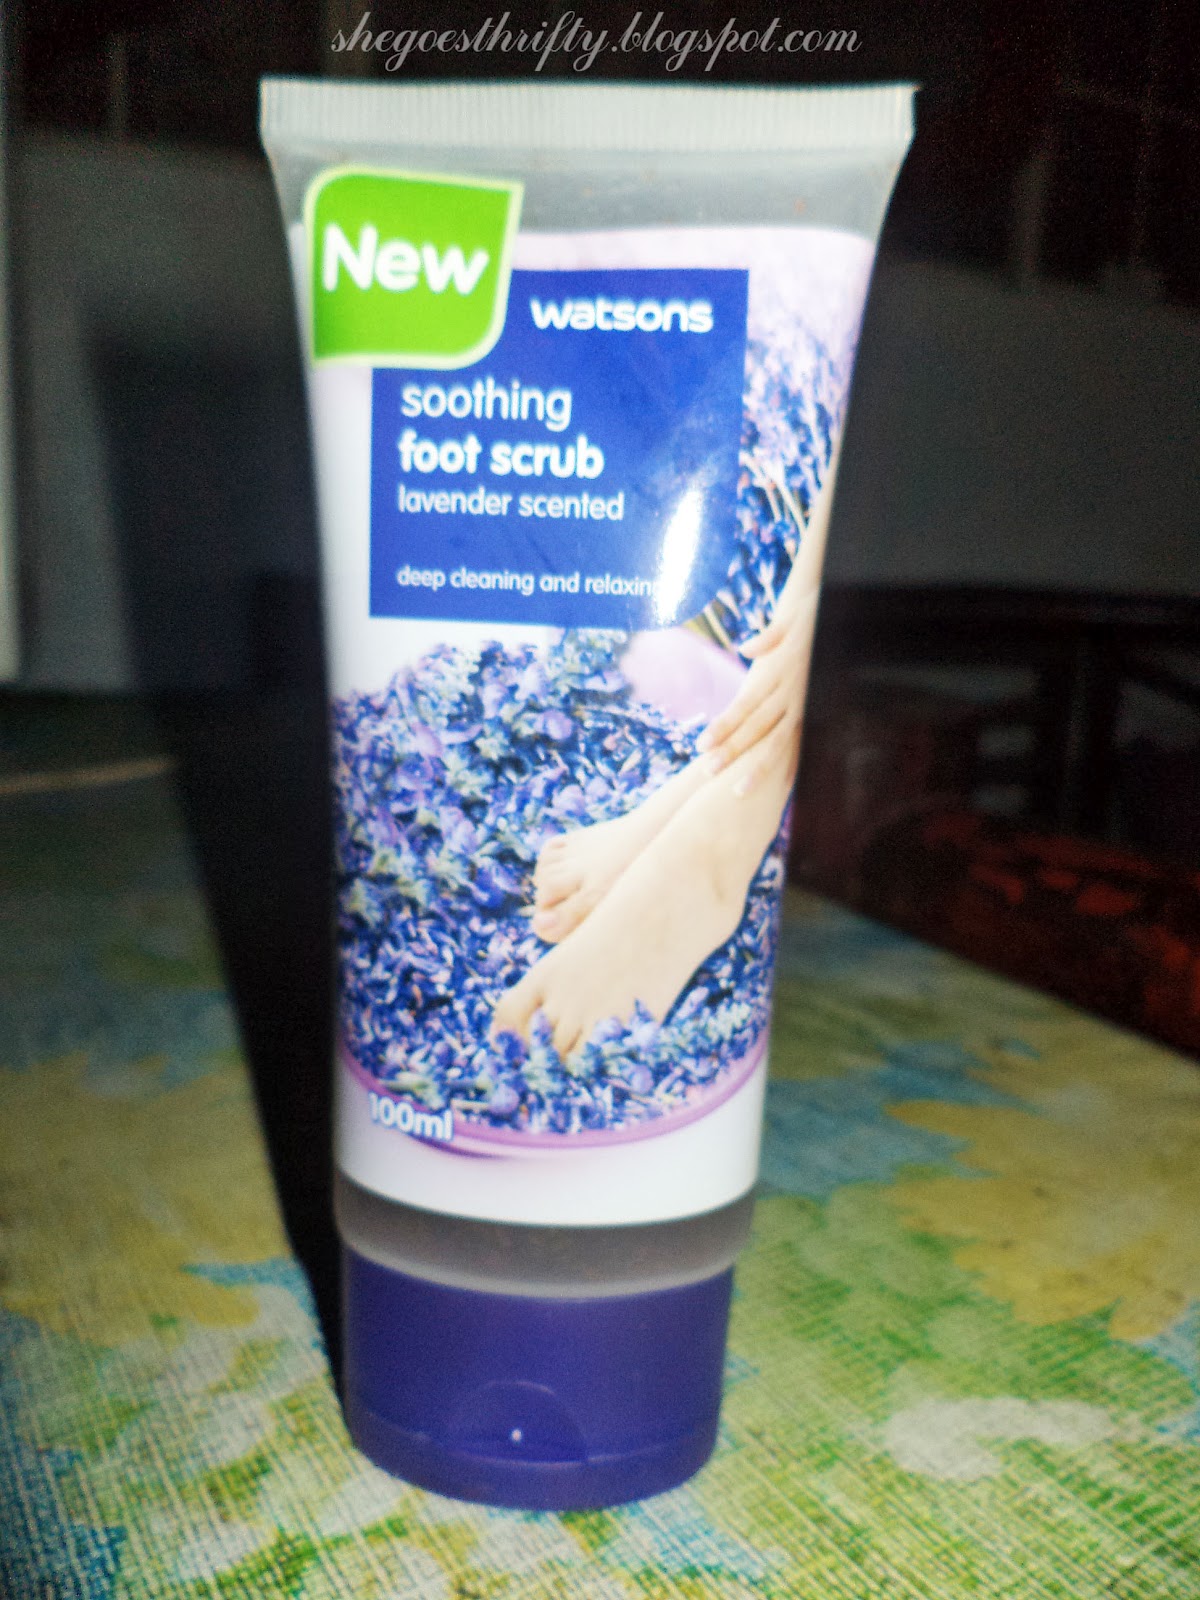
2. Foot Scrub
Php 55 from Watsons

3. Hand and Foot Salve
This is a must in my pampering kit. I have terribly dry skin on my feet and this soothes my parched feet.
(Php139.75 from Human Nature)

4. Foot spa paddles
The white one is called a pedicure file. It has a surface similar to that of cheese grater. Be extra careful when using this thing. It can cut your skin. (Php 79 from Watsons)
The one below has sandpaper on both sides. You can use it to smooth out rough edges. Forgot how much this costs. You can also get this from Watsons.
 |
| Photo Source |
5. A small basin/washbowl
Special thanks to my super smart friend, Kach, for translating basin for me. :))
Special thanks to my super smart friend, Kach, for translating basin for me. :))
 |
| Photo Source |
6. Warm water
Make sure your feet can take the temperature. ;)

7. A used but clean hand towel
Now that you have all these things in hand, you're all set to pamper your tired feet!
*It's best to do this outside, like in your garage, so you won't have to worry about spilling anything.
Steps:
- Pour the warm water on the basin.
- Mix in the foot soak, use the sandpaper paddle to stir the mixture until it becomes bubbly.
- Immerse your feet into the bowl. Test the temperature first. Make sure it doesn't burn or scald your skin.
- Let it sit for about 5 to 10 minutes.
- Pull out your pedicure file. Use it to rid your feet of dry skin. I usually do it diagonally downwards. I haven't quite gotten the technique yet but try other methods. See what works for you. Be careful though, the surface is pretty sharp.
- Use the sandpaper paddle to smooth out the skin on the sole of your feet.
- You'll know your calluses are gone if you feel your sole and there's no tough part anymore.
- Every time the water and soak evaporates/disappears, feel free to dip your foot into the soak again to restore softness and ease of operation.
- After all the dry skin has been shaved off, rinse the feet with lukewarm water. Water directly from the faucet will do too.
- Do the same thing to the other foot.
- Empty your basin. Rinse out the soapy water residue. Refill it with a fresh batch of water.
- Whip out your foot scrub. Squeeze out a small amount on your palm and apply onto your foot. Scrub, scrub, scrub away until you've scrubbed your dead skin cells to submission! Do the same to the other foot.
- Dry your feet with the towel.
- Now, let the hand and foot salve take center stage! Replenish your skin with lost moisture from all that soaking, shaving, and scrubbing! You can massage your feet as you go, if you like.
- There you have it!
I hope this tutorial really helps! I'm all for savings here on She Goes Thrifty and this is my way of sparing a couple hundred pesos for other things, say a pretty new top or as an addition to my travel or gas fund! Give it a try. :)
Love,
SGT <3
Nice product! Not so expensive I guess because having a foot spa on your self needs to be not too expensive. Its practical to have it at home judt like using FreshFeet.
ReplyDeletehttp://www.freshfeet.com.au/