Showing posts with label Watsons. Show all posts

3.28.2013

Department Store Discoveries: March


Sharing with you some of the things I recently got from either HBC or Watson's. I'm so excited! Who says beauty has to be expensive? Clearly, they haven't gone make-up shopping on a budget!


1. SanSan Concealer in Beige (around Php 105)


2. BYS Lipstick in Risky Business (Php 229) - I love how it's a cross between baby pink, nude, and salmon! My first lippie from BYS is Cherry Black. Will post a review soon!


3. ELF Eyelash Curler (Php 129) - comes with a free rubber thingy


 4. ELF Eyebrow Kit in Light (Php 249.75) - Can't wait to rave about this!


5. Essence Matte Bronzing Powder in 02 Sunny - Still on trial phase. It's quite difficult for me to find a decent contouring powder, but I hope this will do nicely. I might get the other one for blondes too.


So yeah, my wallet cried a little, but overall I'm happy I'm packed with a few essentials. I've been trying to save up since being in-between jobs means my last pay would be withheld. I might have to scrimp out on shopping next time. Wish me luck!


7.13.2012

Mid-July Buys

Like I said in the post before this one, I rarely buy something that I don't feel like I really need it to save my life. Haha! But seriously, what's the point in splurging for things we don't even need, right? This blog isn't entilted She Goes Thrifty for nothing, y'know. Oh, and I'd also like to point out that all of my purchases fit the budgets of just about any student or working girl. Don't worry! I hope you don't get the wrong idea! Again, I'm not a pointless walking splurging and shopping spree. I post things that I really use and review them based on my personal experiences. 

Now that's cleared...

You know how just about every beauty guru out there will tell you NOT to sleep with your makeup on? They're absolutely spot on! Makeup sits on your skin and seeps into your pores. Leaving them overnight will not only introduce foreign materials into your skin, i.e. bacteria, it will also aggravate and irritate your skin.

I've always relied on wet wipes or baby wipes to sweep my makeup off, then I wash off my face completely with my foaming facial cleanser from Etude House or my bamboo charcoal soap from Ilog Maria. That way, I reduce the risk of breakouts and infection. Who wants that anyway? So yeah, I've been searching for makeup cleansers, as they are more intensive in terms of getting deep down into your skin and scare off every last bit of makeup you have on. Just to make sure, follow up with a facial cleanser or a facial wash afterwards! Better safe than sorry! Anyway, I've been reading reviews and comparing product notes. I was torn between the one from Etude House (the tea cleansing milk line) or this one from Pond's. The classic won me over. A lot of people rave about how their grandmas, aunts, and moms passed on this timeless legend to them. I decided to go along with the majority this time. I used it right away and I have to say, I'm glad I chose this. :)

By the way, reviews on this and other products on this post will be reviewed very soon. Please stay tuned. :)

A small tub costs Php 130
Of course, I needed cotton pads to wipe my makeup away with. Thanks to Saizen and their 2-in-1 bundles, I got two boxes of cotton pads/puffs for Php 85!


There's been a serious buzz about Cyleina soaps. I'm such a newbie, I only heard of them recently, but apparently, they've been around for quite a while. I got this from Watsons in Galleria for Php 65. You know me, I'm partial to local and organic brands. I'm sure this one will fare very well with me. I still have to consume my other soaps though. The review on this will have to wait. :)

For more information, check out the Cyleina website and Multiply site. They carry a wide variety of soaps and other organic products. You can also try to check out your local Watsons or SM Department Store for availability and stocks. The price ranges from Php 65 to 125.


Aaaand lastly, I grabbed a gift for my friend, Justine, who just graduated from CSB. Oooh, I hope she likes this! In case you haven't noticed, Snoe is one of my faves. I've reviewed a considerable number of their products on this blog. 


That's about it. I'm so stoked to review these and more! (which reminds me, I have tons of backlogs to work on and accomplish!) *facepalm* But anyway, I hope you're enjoying your Friday the 13th as well. If you're superstitious, try to beg to differ. They say today's quite unlucky, but I believe that it's ultimately in our hands what to do with our luck. We can always turn it around, y'know! It's all about perspective, in my honest opinion. So think of it this way, refuse to be part of the unlucky bandwagon and make your luck work for you! It wouldn't hurt to try. ;)

Love,
SGT <3

7.08.2012

Nailed It!

Nail art done professionally can get pretty expensive. I discovered a few tips and tricks to cut your costs on those luxurious nail-painting appointments. All you need is resourcefulness, dexterity (which I don't have yet, but I'm working on it), and creativity. :)

  1. If you have old, unfinished nail polish bottles lying around the house, don't lose hope yet. You can bring them back to life with the help of solvent. You can buy a bottle of this substance in Watson's or any other department store or supermarket. I use the Caronia brand. What it basically does is it thins out clumped polishes and helps remove other nail implements. Just pour a minute drop or two into your nail polish bottle, close the cap, and shake the bottle to submission. Please don't sniff it as the smell can get addictive. (Php 31.50) 
  2. Invest in a great base and top coat polish. Well, you don't really have to sell your organs to afford one. Caronia has a good top coat (Php 44.25) that's widely available, plus, it's fast-dry too! For my base coat, I rely on Etude House -- a bottle cost me around Php 48. I also use this kwik-dry thing that I put on my cuticles after I finished painting my nails to help the polish dry faster. Saw this technique whenever I went in for professional manicures and pedicures. Mine's from Bobbie. Again, these are department store/supermarket/drug store brands. Easy accessibility. :)
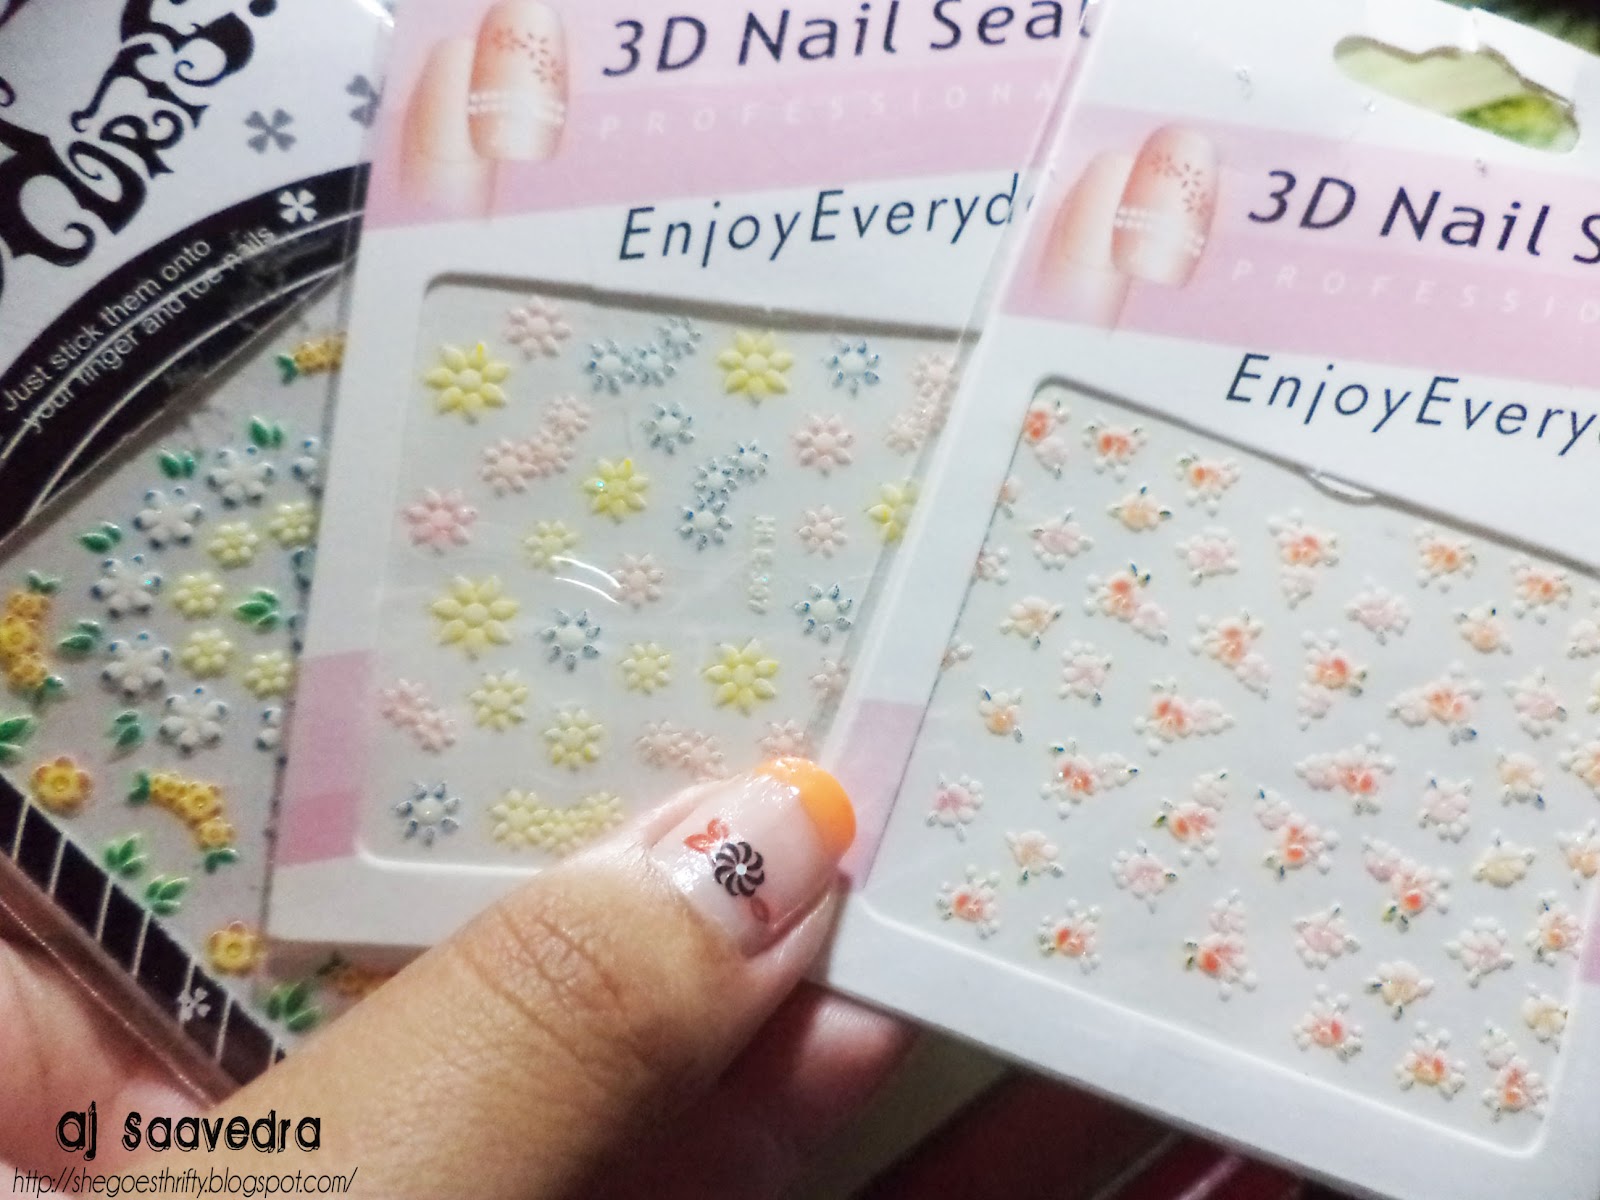
  3. There are a wide variety of options for nail art stuff. You can go with decals, stickers, stick-on jewels, fimo sticks, artificial nails, nail art pens and tools, and so much more! Jazz up your digits in more ways than one! The price range varies from 10 pesos to infinity! Hehe. It really depends on what you're more comfortable using. If you're a DIY nail art newbie like me, I suggest you start off with nail stickers, as they can be the easiest ones to apply/use. Watsons shelves have them. You can also check out your nearest Hortaleza branch. They're available online as well. (If you know where else to get them, please comment down below, thanks!) Just search for them on Multiply. :) For how-to tutorials, please check out Youtube, as many nail art gurus posted helpful videos on the matter. I've been dying to try the ombre and this marble thing I saw on Youtube once -- maybe not now. Perhaps when I've gained much confidence and when my crabby hands decide to hold steady long enough for me to finish an entire hand.
  4. Invest in a really good mani/pedi set and DIY mani-pedi yourself, or have your nails cleaned and buffed professionally, if you're more comfortable with that. Usually, cleaning, shaping, and buffing (without the polish/nail art) cost less. You can work on the nail art design at home. Tutorials on how to do your own nails are all over Youtube as well.
  5. Fear not! The first couple of tries won't be perfect (check out my crappy right hand nail art -- or something like it), but over time, you'll get the hang of it and you'll be more comfortable with doing it yourself. It really takes a lot of dexterity to get the design dead-on. Start with simple designs, such as this French Tip-esque neon orange style. I just added on a few floral nail stickers to make things more interesting. I'm pretty happy with the outcome. Not bad for a first-timer, eh? :)
  6. Look for nail art inspirations online. Tumblr and Pinterest can help narrow down your search, but then again, there's always Google to rely on in times of need.
  7. Just go for it! It will take a lot of patience, practice, and polish to get you going on this DIY nail art business. :)) I'm only beginning to reap the benefits of DIY nail art because at the end of the day, I can do whatever I want with my nails and I don't have to spend a fortune while I'm at it! Plus, they look really cute and different! I hope to try out more techniques really soon. :)

Left hand
Used an old bottle of neon orange nail polish and some nail stickers.
Crappy right hand here. :)) sorry. Not ambidextrous!

Got these cute nail stickers from Pacita Complex (a market place a town away) today. Each sheet costs Php 10. Can you believe it?!


These ones are from Watsons. Got them the other day for Php 15 per sheet. I have them on my nails right now. :)


Hope these tips help! Feel free to post your DIY nail art projects on She Goes Thrifty's Facebook page. Share with me and everyone else your masterpiece. Let's get inspired together! :)

Love,
SGT <3

7.02.2012

The Correlation Between the Rain and Being Alone

On rainy days like these, I like to spend some time alone.

Because I have a couple of errands to run and a few payments to endorse, I decided to go to Alabang after all the items on my to-do list have been crossed off. When I got to Alabang Town Center, the weather was already gloomy and sleepy. Still, the chilly air-conditioned sitch at the mall didn't stop me. First stop: Sesou Nature Source over at the new wing. I had a ball looking around and trying all sorts of things. Sesou is interesting because they not only carry organic products, but support local enterprise as well. Many so-called hard-to-find products can be seen here. Plus, their customer-service is unrelenting and very helpful. Follow them on Twitter if you wish to know more about product availability and whatnot. :)

I thought I should check out Strip-It waxing kit (something I've been pining to do for months now). I like going to waxing salons but I'll see if this contender (and my DIY prowess) can keep up with professionally-done waxing jobs. *fingers crossed*

A small tub costs Php 199 (about $5). It's actually an entire sugaring kit that includes a spatula and a reusable strip cloth. Oh, and it comes with instructions too. What I love about cold wax (as per my experience with having my waxing done in Lay Bare), is that scalding your skin is not a problem. It hurts the same but the burning your skin factor is totally out of the picture. Anyway, I'm going to review this one in the near future. Stay tuned. ;)


Then, I ate at Ramen X for lunch. They have really affordable prices and TREMENDOUS servings. Plus, they really mean when they say they serve soul food. Somehow, when you down that last spoonful of soup, your soul will sing hallelujah! It's my second time to go there and I have a feeling today won't be my last. :)


Photos are from the Ramen X Facebook Page


The menu.
I ordered the Shoyu Ramen, which is a soy-based noodle soup with roast pork and cabbage. Expect to see a bigger serving in real life. It's really sulit. I can't believe I only paid Php 99 for this! This can actually serve 2 people's hungers but I'm starving so I managed to finish an entire bowl by myself. :| Paired it with their red iced tea. I can almost hear my intestines sing with utter joy! ;)


After a beyond satisfying and sinfully gratifying lunch, I managed to go astray and stumble upon Pop Culture. Got these for Php 100! So cute! Those are cherries, by the way. :P


And after swatching many NYX Watches over at Pretty Goddess, I decided to hit the supermarket to run one last errand so I can go home. On my way home, I stopped by Watsons to grab a bottle of nail polish remover but ended up taking home these wonderful items.

Style on Air earrings
Glam Works goat's milk soap with oatmeal (got two bars  for 59.75)
A bottle of nail polish remover
That is it for my mini-field trip to Alabang. Glad to have made it home in one piece! It's scary driving back from Alabang to Santa Rosa. The fog in SLEX + the splish-splash of water from other cars fogged my vision a bit. It's harder than usual to drive in this weather. Please be careful everyone! And enjoy the cold breeze! ;)

Oh yeah, about the title. I can't seem to think of anything better to say. Besides, this entry is just a sneak-peek into what went on in my side of the world on this stormy Monday. They say that when it rains, it pours. I say, just take it all in and savor the moment before the downpour of blessings from above stops. I'm just super happy from all the great news I've been getting that I needed some time alone to process things and think about what I really want and what I have to do to get to where I need to be. Anywaaaay, I'll keep you guys posted. Again, I don't wanna jinx anything by revealing too much. I'm just very grateful for all the sunshine (ironic since it's stormy) that I've been getting. :)

I'm babbling again. Ending this post now. Bye!

Love,
SGT <3

6.11.2012

DIY: Foot Spa

It's no secret that I like to scrimp out on some things in life so I can have more savings for future splurges, i.e. more important matters. Pampering can be one of those things that I tend to do a lot on my own, especially when I have time. Don't get me wrong, though. I like treating myself to a little RnR every now and then but more often that not, I find the prices of nail salons a tad too steep for my liking. My solution? I do it myself.

Foot spas are one of those things that can take some getting used to doing on your own. I, for one, had just started trying it out and I'm no expert at it... YET! I'll get the hang of it, and I'm sure you will too.

So what is it that you want to achieve at the end of every foot spa sesh? Soft, callus-less footsies that you can show to the entire world! With the help of a few tools, you can give your feet a much-needed break and treat it to a little lap of luxury every once in a while... and you don't have to spend a fortune to do it! Some of these materials may already be lying around in your home. Others may need to be purchased at your local wellness store like Watsons. But investing in them will save you a lot of bucks in the future. Imagine spending Php 300 and even more on just one foot spa appointment in that plush nail salon in the mall. You can invest the same amount of money (or less) and use these items for many more at-home foot spa sessions in the future. You can do it with your friends and family too!

You're going to need:


1. Foot Soak
We got this at Watsons waaay back. They usually come in buy 1 take 1 packs.
Not sure about the price, but it prolly won't cost over Php 150.

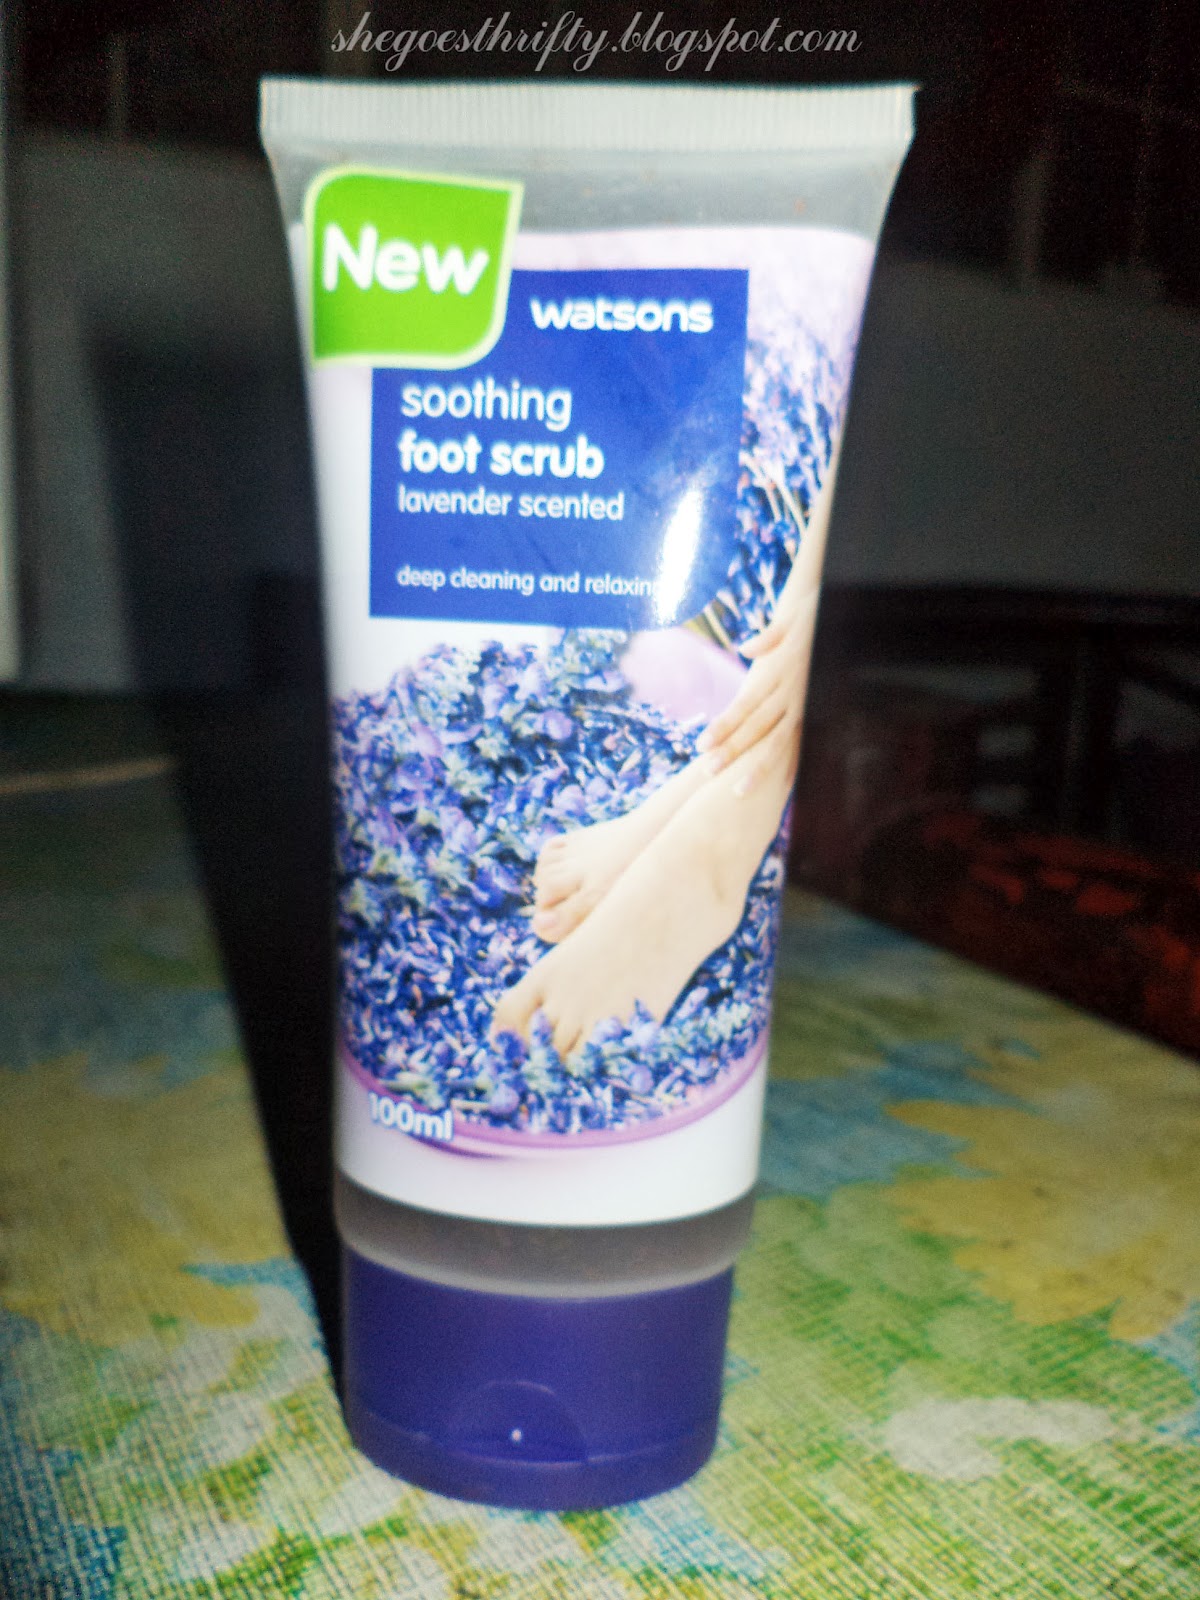
2. Foot Scrub
Php 55 from Watsons


3. Hand and Foot Salve
This is a must in my pampering kit. I have terribly dry skin on my feet and this soothes my parched feet.
(Php139.75 from Human Nature)


4. Foot spa paddles
The white one is called a pedicure file. It has a surface similar to that of cheese grater. Be extra careful when using this thing. It can cut your skin.  (Php 79 from Watsons)

The one below has sandpaper on both sides. You can use it to smooth out rough edges. Forgot how much this costs. You can also get this from Watsons.

Photo Source

5. A small basin/washbowl
Special thanks to my super smart friend, Kach, for translating basin for me. :))

Photo Source
6. Warm water
Make sure your feet can take the temperature. ;)


7. A used but clean hand towel

Now that you have all these things in hand, you're all set to pamper your tired feet! 

*It's best to do this outside, like in your garage, so you won't have to worry about spilling anything.

Steps:
  • Pour the warm water on the basin.
  • Mix in the foot soak, use the sandpaper paddle to stir the mixture until it becomes bubbly.
  • Immerse your feet into the bowl. Test the temperature first. Make sure it doesn't burn or scald your skin.
  • Let it sit for about 5 to 10 minutes.
  • Pull out your pedicure file. Use it to rid your feet of dry skin. I usually do it diagonally downwards. I haven't quite gotten the technique yet but try other methods. See what works for you. Be careful though, the surface is pretty sharp.
  • Use the sandpaper paddle to smooth out the skin on the sole of your feet.
  • You'll know your calluses are gone if you feel your sole and there's no tough part anymore. 
  • Every time the water and soak evaporates/disappears, feel free to dip your foot into the soak again to restore softness and ease of operation.
  • After all the dry skin has been shaved off, rinse the feet with lukewarm water. Water directly from the faucet will do too.
  • Do the same thing to the other foot.
  • Empty your basin. Rinse out the soapy water residue. Refill it with a fresh batch of water.
  • Whip out your foot scrub. Squeeze out a small amount on your palm and apply onto your foot. Scrub, scrub, scrub away until you've scrubbed your dead skin cells to submission! Do the same to the other foot.
  • Dry your feet with the towel.
  • Now, let the hand and foot salve take center stage! Replenish your skin with lost moisture from all that soaking, shaving, and scrubbing! You can massage your feet as you go, if you like.
  • There you have it!

I hope this tutorial really helps! I'm all for savings here on She Goes Thrifty and this is my way of sparing a couple hundred pesos for other things, say a pretty new top or as an addition to my travel or gas fund! Give it a try. :)

Love,
SGT <3